
Bag Lining
For a while I've been saving photos from various projects that I've done to post here, but I haven't gotten around to actually posting them. Here is an older project that I did. I had a cheap Rothco bag that I'd bought on Amazon that had no lining and I wanted to remedy that. Here are a few pictures of what the bag looked like when it arrived:
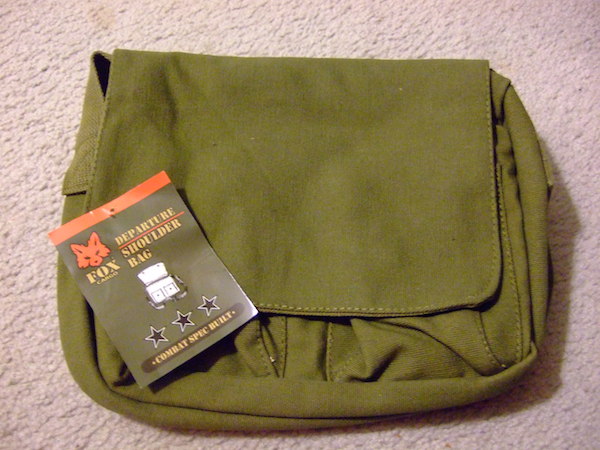
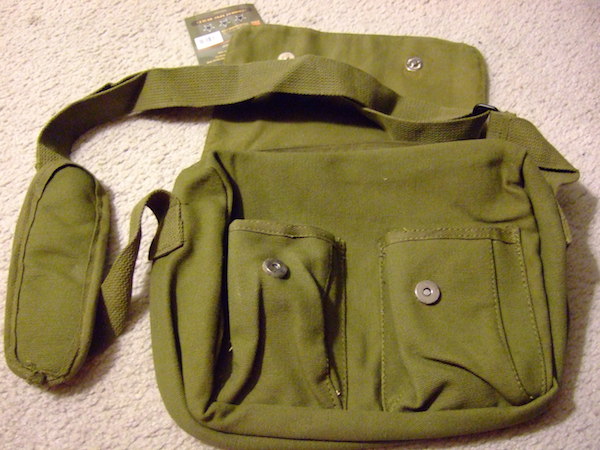
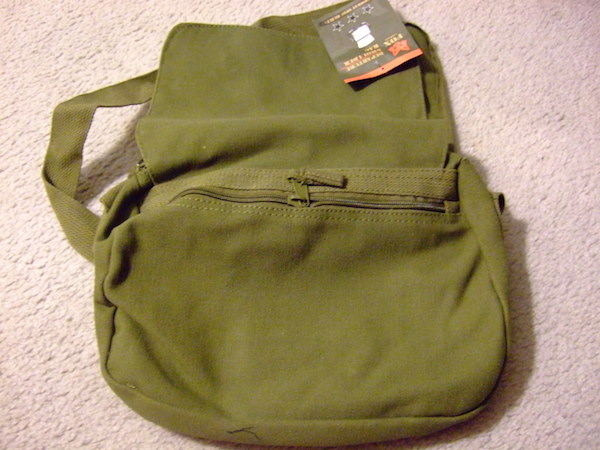
I'd picked the bag specifically because it was the right size for my iPad, but being unlined meant it would likely scratch it over time.

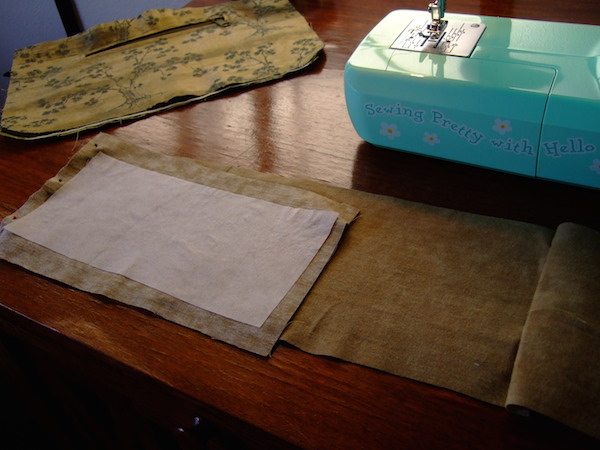
So, I sat down with my trusty sewing machine. The first thing you might notice is that it's green. The bottom there says "Sewing Pretty with Hello Kitty", I kid you not. That said, it's actually a pretty good machine. The only real complaint I have is that it doesn't have an elastic stitch. Note: I've discovered that it also isn't great at sewing 4-6 layers of upholstery fabric, but that's not really fair to expect. And even so, you'd be amazed at how much of that kind of sewing I've done anyway. But that's a post for another day.
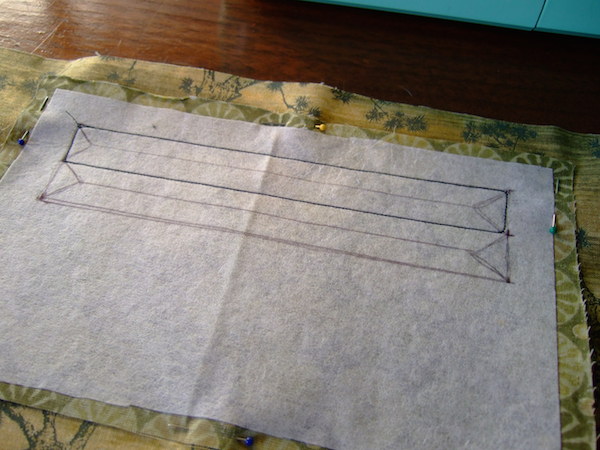
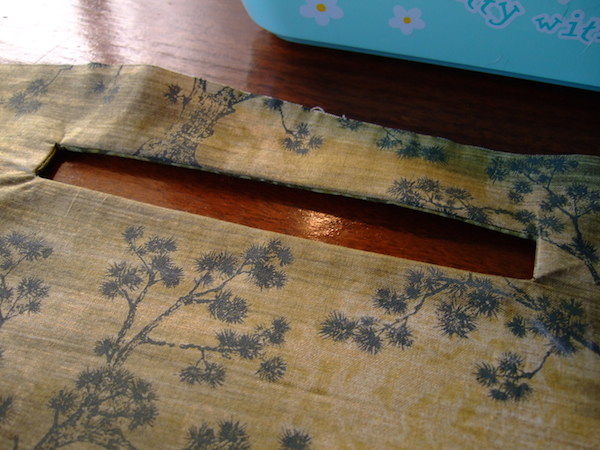
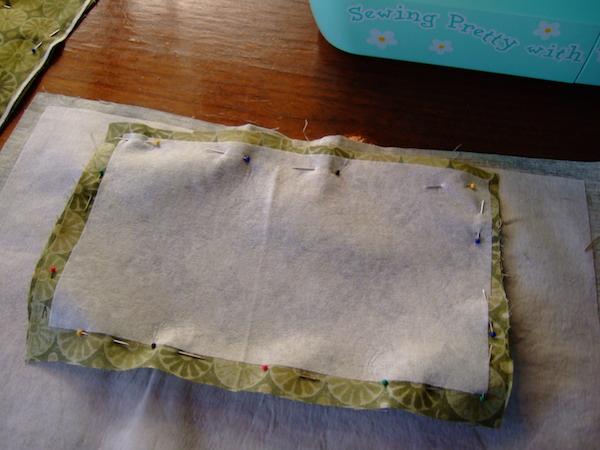
To do this, I followed instructions for a hidden zipper that I found online. I'm not sure which set of instructions I'd originally found, but this one seems similar and helpful. I had put piece of supporting lining on to of the two pieces of fabric both facing up and drawn the diagram on. I realized belatedly that it was too low, so redrew it a little higher. Then I sewed the square two the two pieces of fabric. Next, you cut through the pieces of fabric on the lines.
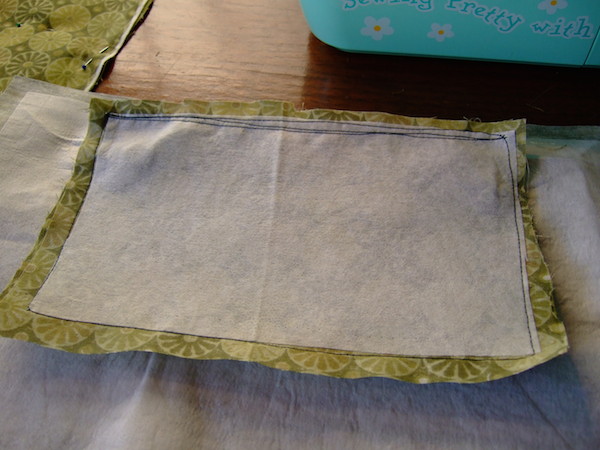
After that, you pull what will be the inner lining through, and looks like a neat square. You can see the one triangle corner there that I have yet to pull through.
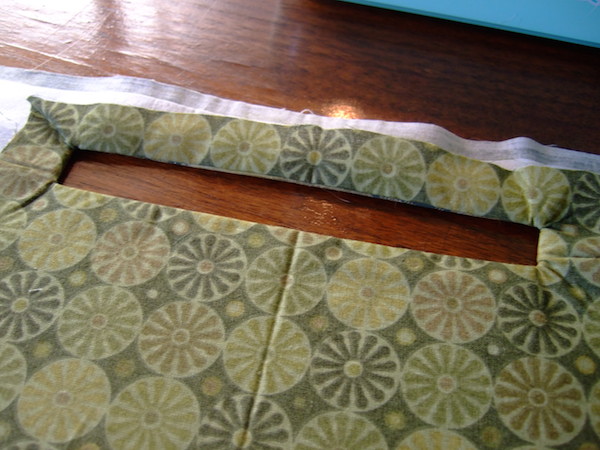
This is what the back side (the start of the inner pocket) looks likes now.
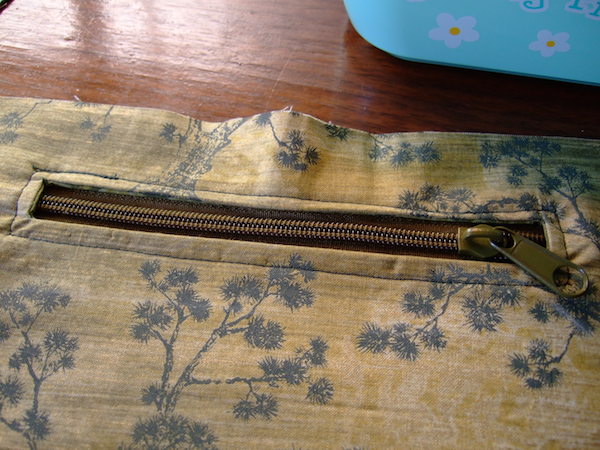
Next, stick a zipper in the hole and sew around it. I sewed on this side to make sure the part you'd be able to see looked as good as possible. The zipper came from a hanging pocket that had been in the bag to start with. I'd removed it and reused the zipper so it would match the rest of the bag. In retrospect it wasn't the best zipper to use since it was a bit big rather than being a low profile zipper like you'd usually use for this kind of pocket. But waste not want not, right?
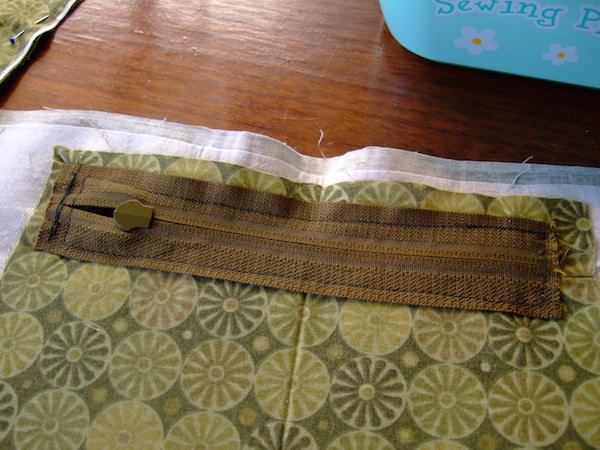
This is what the back side looked like with the square zipped in.
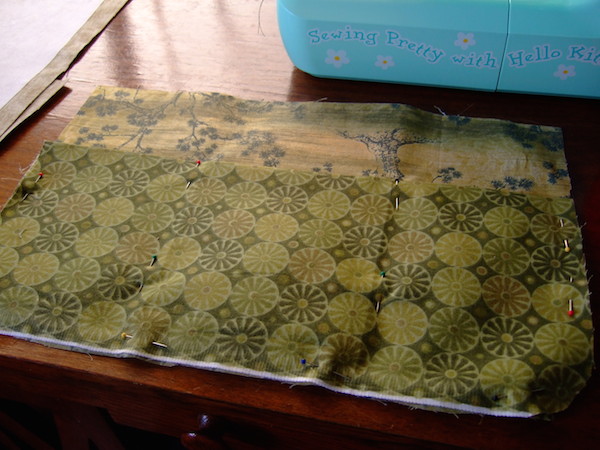
Next, pin the back side of the fabric in place. I'd used an iron-on lining to make sure it would have some structure. I didn't think it would sew together well though, so I only attached it in the middle of the fabric and then sewed around the edge.
Or at least that was the intention. As you can see, my stitch line ran over the lining quite a bit. It didn't matter in the end.
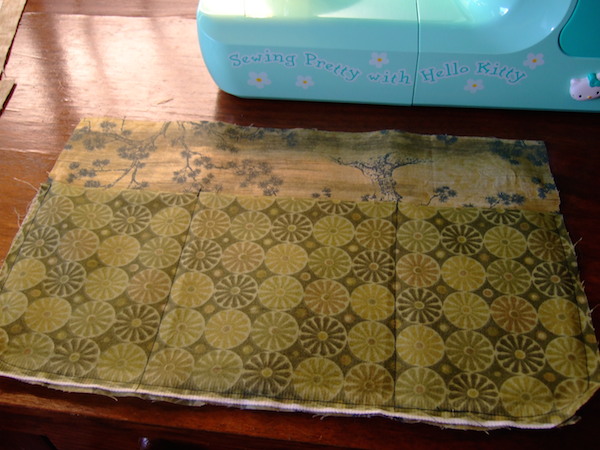
Next, I did the other side. I wanted three big pockets so I could keep things like a regular small notebook in there. I folded the fabric in place and then sewed two lines in the middle and then around the three sides.
Next up, I made the lining that would go on the side and bottom from three pieces. In retrospect this is where I made my biggest mistake. I should have made it much thinner. When I attached it in the end, it ended up bunching up and made it hard to sew in place. Not a big deal, but it would have been easier if it had been the right side.
Here you can see how the sides started to fit together. I'd sewed it around one side first.

And then the other side.
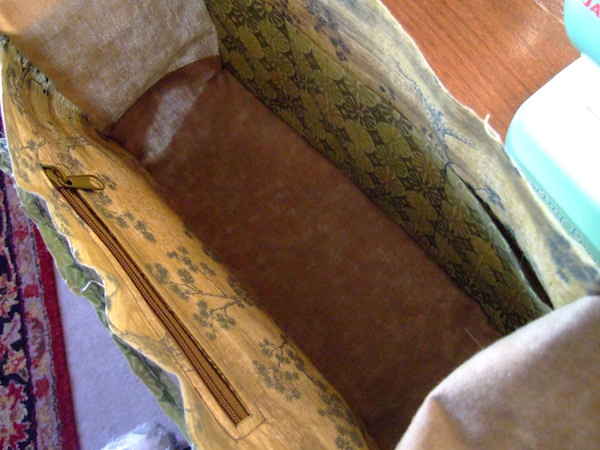
Here I took a break from the inside to make linings for pockets in the front. I hand stitched the lining inside the main bag and the front pockets to keep them in place. There's not really a good way to show cramped hand stitching and occasionally pocking myself in the finger. So imagine a needle and thread and occasionally an quiet epithet. Here are a few photos of the finished project.
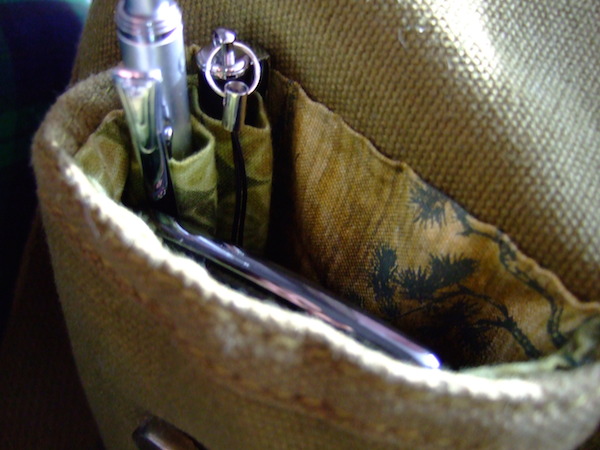
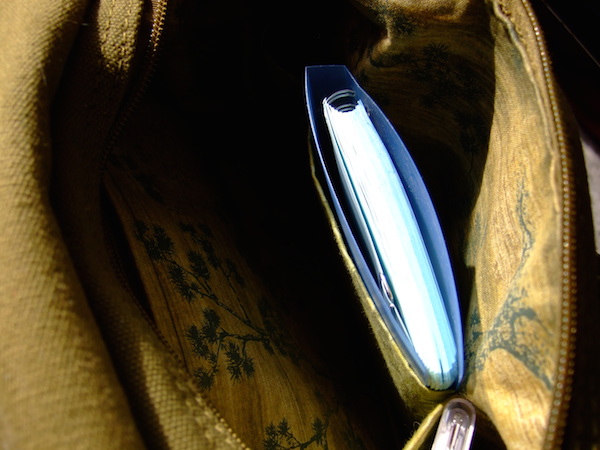
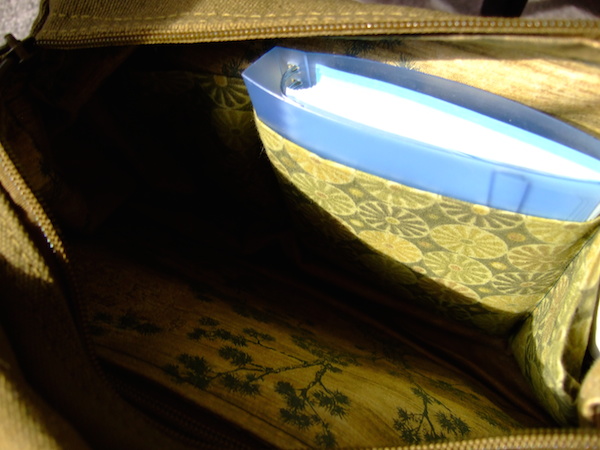
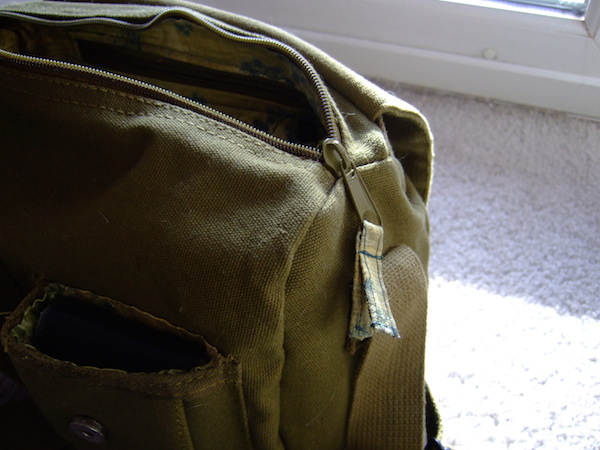
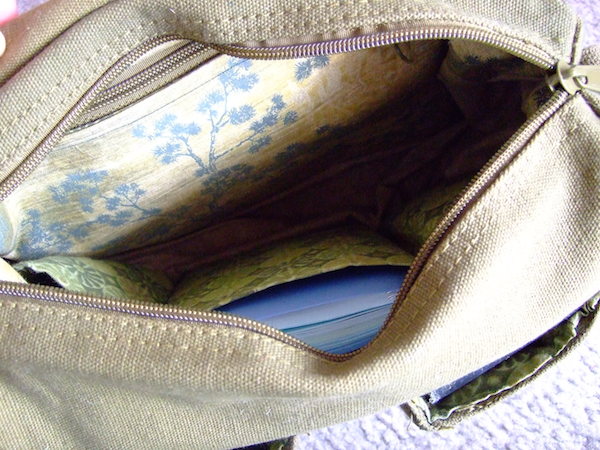
I was very pleased with the final product.
Costs:
Bag: $7
Fabric: $5 (clearance bin)
Notions: $0 (repurposed and existing thread)
TOTAL: $12
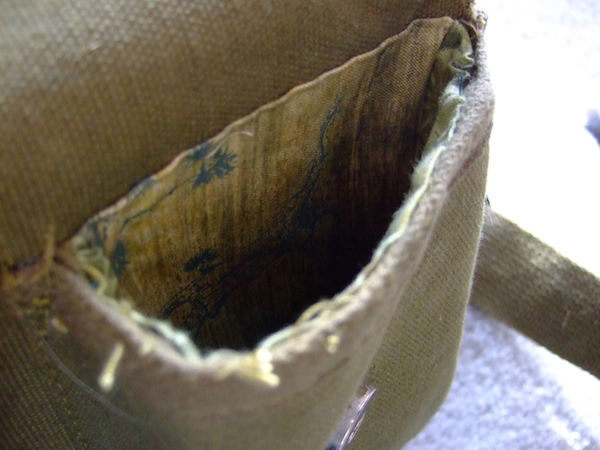
Sad end to the story though: the size of the main opening was just slightly too small to get my iPad in and out easily. I tried to expand it, but then the zipper looked unfinished. So I only used this bag for about 2-3 months before I gave it to Goodwill. Even so it was a satisfying project, which is all I can really ask for in the end (or maybe finding gold bullion in the bag lining, amirite?).
-CDKS
POSTED: July 7, 2014 | CATEGORIES: crafts | TAGS:
{ Contents copyright © Callie Dominique Karlsson Speer 2000-2024 }